Gluten Free Dairy Free Yellow Cake Recipe
Is it possible to create a delicious cake that’s both gluten-free and dairy-free? Many people think it’s hard to achieve great taste without traditional ingredients, but this gluten-free dairy-free yellow cake recipe proves otherwise. With simple ingredients and easy steps, you can enjoy a light and fluffy dessert suitable for various dietary needs. Curious about how to make it? Let’s explore the details and get you started on your baking journey.
Why You’ll Love This Recipe
When you’re looking for a delicious cake that fits your dietary needs, this gluten-free, dairy-free yellow cake is a fantastic choice.
You’ll appreciate how simple it’s to make, requiring just a few common ingredients. The cake’s texture is light and fluffy, satisfying both your taste buds and cravings.
Plus, it’s versatile; you can enjoy it plain or with your favorite frosting. This recipe uses natural sweetness from ripe bananas or applesauce, making it healthier without sacrificing flavor.
It’s perfect for birthdays, special occasions, or just a treat for yourself. You’ll find that even those without dietary restrictions love this cake, proving it’s a hit for everyone.
Trying this recipe will show you how enjoyable gluten-free, dairy-free baking can be.
History
The history of gluten-free and dairy-free baking can be traced back to the growing awareness of food allergies and dietary restrictions. As more people recognized these issues, the demand for alternative baking options increased.
In the past, many relied on traditional recipes, which often included gluten and dairy. However, as awareness spread, bakers began experimenting with substitutes like almond flour, coconut milk, and other alternatives. This shift allowed those with allergies or intolerances to enjoy delicious treats without compromising their health.
Over the years, more resources and recipes have emerged, making gluten-free and dairy-free baking more accessible. Today, you’ll find a wide variety of options that cater to different tastes and dietary needs, ensuring everyone can enjoy a slice of cake.
Recipe
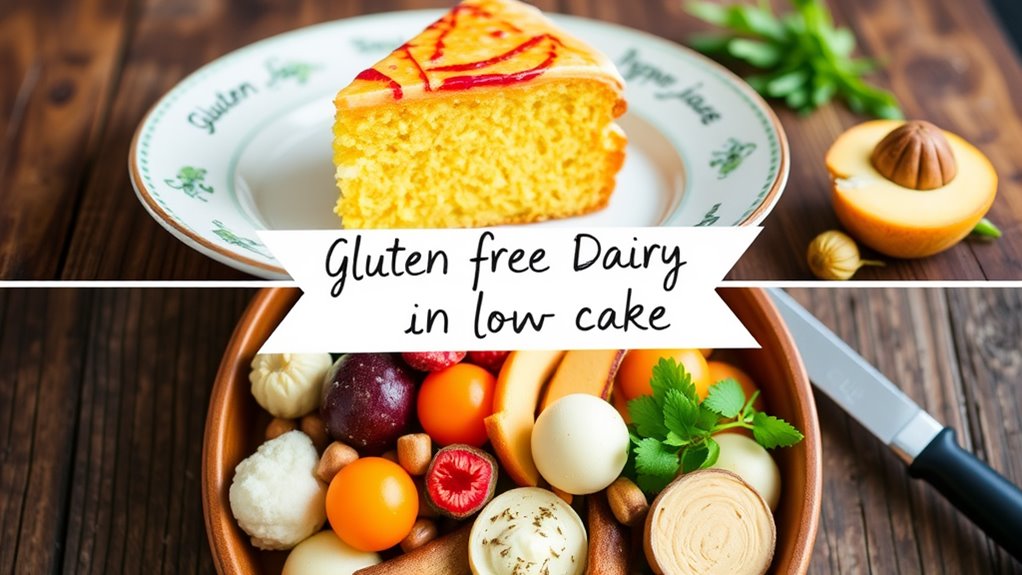
Gluten Free Dairy Free Yellow Cake is a delightful dessert that everyone can enjoy, regardless of dietary restrictions. This recipe captures the classic flavors and moist texture of traditional yellow cake, making it perfect for birthdays, celebrations, or simply a sweet treat any day of the week.
Using gluten-free flour and dairy-free alternatives, this cake isn’t only delicious but also accessible to those who are avoiding gluten and dairy. The beauty of this gluten-free and dairy-free cake lies in its simplicity and versatility. You can serve it plain, dusted with powdered sugar, or top it with your favorite dairy-free frosting or fresh fruits.
The cake is light and fluffy, making it an ideal base for layered cakes or trifles. Let’s get started on this scrumptious recipe that everyone will love!
Ingredients:
– 2 cups gluten-free all-purpose flour
– 1 cup granulated sugar
– 1/2 cup coconut oil, melted
– 1 cup almond milk (or any other dairy-free milk)
– 3 large eggs
– 2 teaspoons baking powder
– 1 teaspoon baking soda
– 1/2 teaspoon salt
– 1 teaspoon vanilla extract
– 1/2 teaspoon almond extract (optional)
Instructions:
-
Preheat your oven to 350°F (175°C). Grease and flour two 9-inch round cake pans with gluten-free flour or line them with parchment paper for easy removal.
-
In a large mixing bowl, combine the gluten-free flour, baking powder, baking soda, and salt. Whisk together until well combined and set aside.
-
In another bowl, mix the melted coconut oil and granulated sugar. Stir until the mixture is smooth and creamy. Add the eggs, one at a time, mixing well after each addition.
-
Then, mix in the vanilla extract and almond extract, if using.
-
Gradually add the dry ingredients to the wet mixture, alternating with the almond milk. Start and finish with the dry ingredients, mixing until just combined. Be careful not to overmix.
-
Divide the batter evenly between the two prepared cake pans. Bake in the preheated oven for 25-30 minutes, or until a toothpick inserted into the center of the cakes comes out clean.
-
Once baked, remove the cakes from the oven and let them cool in the pans for about 10 minutes. Then, carefully transfer the cakes to a wire rack to cool completely before frosting or serving.
For extra tips, make sure that all your ingredients are at room temperature before you start mixing, as this helps create a smoother batter.
If you want to make this cake ahead of time, it can be stored in an airtight container for up to three days or frozen for later use. Feel free to experiment with different flavors by adding cocoa powder for a chocolate version or incorporating fruit puree for a fruity twist!
Final Thoughts
As you wrap up your baking adventure, it’s important to remember that this Gluten Free Dairy Free Yellow Cake not only meets dietary needs but also brings joy to any occasion.
You can enjoy this cake as a delicious dessert for birthdays, celebrations, or simply as a sweet treat. The great thing is, it’s easy to customize; you can add your favorite frosting or toppings to make it even more delightful.
Make sure to store any leftovers properly to keep the cake fresh for days. When you share it with friends or family, you’ll be spreading happiness while accommodating various diets.
With this recipe, you’ve created something special that everyone can enjoy, proving that dietary restrictions don’t mean sacrificing flavor.
Happy baking!
FAQ
Have questions about making the Gluten Free Dairy Free Yellow Cake? You’re not alone! Many people wonder about ingredient substitutions.
For instance, you can use almond milk or coconut milk instead of regular milk, and coconut oil works well in place of butter. If you need a sweetener, maple syrup or agave nectar can be great options.
Another common question is about baking time. Keep an eye on the cake as it bakes, usually around 25-30 minutes, but every oven is different.
Use a toothpick to check for doneness; it should come out clean. Don’t forget, cooling the cake completely before frosting helps the frosting stay put!
Enjoy your baking adventure and feel free to experiment!