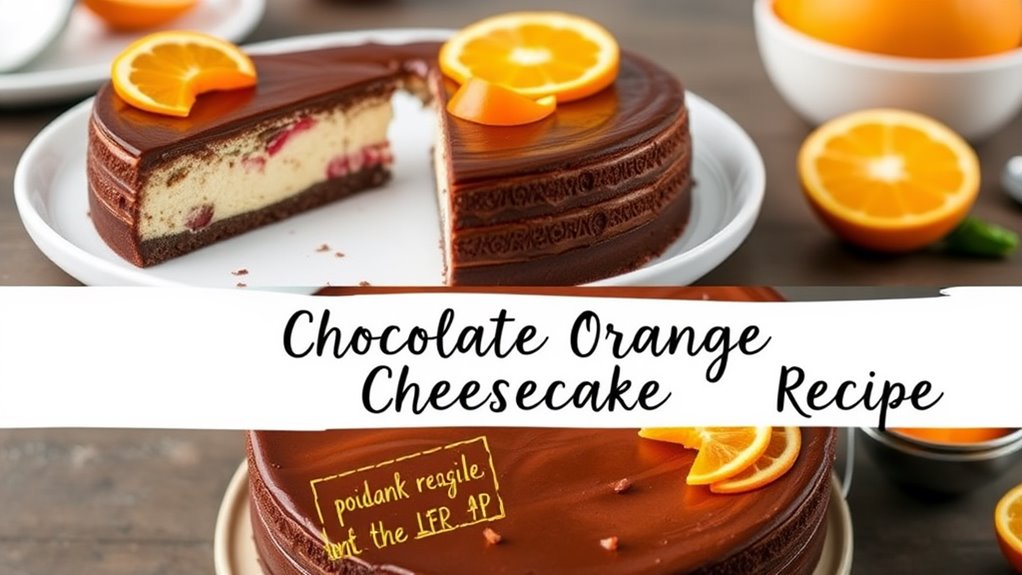
Chocolate Orange Cheesecake Recipe
If you’re looking to impress your friends or family with a delicious dessert, the Chocolate Orange Cheesecake might be just what you need. This no-bake recipe combines a crunchy biscuit base with a rich filling of cream cheese, dark chocolate, and fresh orange zest. It’s simple enough for anyone to try, yet it looks stunning on a dessert table. Now, let’s explore the history behind this delightful treat and how you can make it yourself.
Why You’ll Love This Recipe
When it comes to desserts, few combinations are as delightful as chocolate and orange, and this cheesecake captures that magic perfectly.
You’ll love how the creamy texture pairs with the zesty notes of orange, creating a unique flavor profile that’s both rich and invigorating. The chocolate crust adds a satisfying crunch, making each bite a balanced experience.
This recipe is straightforward, so whether you’re a beginner or a seasoned baker, you can easily create this indulgent treat. Plus, it’s impressive enough for gatherings, but simple enough for a weeknight dessert.
You’ll find that the vibrant colors and flavors make this cheesecake a standout choice for any occasion, ensuring you’ll be the star of your next dessert table.
History
The history of cheesecake stretches back thousands of years, showcasing how this beloved dessert has evolved over time.
You might be surprised to learn that the earliest known cheesecake dates back to ancient Greece, where it was served to athletes during the first Olympic Games around 776 B.C. The Romans later adopted this treat, spreading it across Europe.
By the Middle Ages, cheesecake recipes began to vary, using ingredients like ricotta and cream cheese. In the 19th century, American variations emerged, particularly the New York cheesecake, which became famous for its rich, creamy texture.
Today, cheesecakes come in countless flavors, including chocolate orange, reflecting our diverse tastes and culinary creativity. Each variation tells a part of cheesecake’s long and delicious history.
Recipe
Indulging in a Chocolate Orange Cheesecake is a delightful way to satisfy your sweet tooth while enjoying the rich flavors of chocolate paired with the invigorating zest of orange.
This no-bake cheesecake isn’t only easy to prepare but also makes for an impressive dessert for any occasion. Whether you’re celebrating a special event or simply treating yourself, this cheesecake is sure to impress with its creamy texture and vibrant flavor profile.
The combination of velvety cream cheese, smooth chocolate, and the brightness of orange creates a harmonious balance that will leave your taste buds dancing.
With a crunchy biscuit base and a glossy chocolate ganache topping, this dessert is as visually appealing as it’s delicious. Let’s plunge into the ingredients and the steps to create this indulgent treat.
Ingredients:
– 200g digestive biscuits
– 100g unsalted butter, melted
– 300g cream cheese
– 100g icing sugar
– 200g dark chocolate, melted
– Zest of 1 large orange
– 2 tablespoons fresh orange juice
– 300ml double cream
– 50g dark chocolate, grated (for decoration)
– Extra orange zest (for decoration)
Instructions:
- Begin by preparing the biscuit base. In a food processor, crush the digestive biscuits until they resemble fine crumbs.
Transfer the crumbs to a mixing bowl and combine them with the melted butter, mixing until well combined. Press the mixture firmly into the bottom of a 9-inch springform cake tin to create an even layer.
Place the tin in the refrigerator to set while you prepare the filling.
-
In a large mixing bowl, beat the cream cheese and icing sugar together until smooth and creamy. Gradually add the melted dark chocolate, orange zest, and fresh orange juice, mixing well to incorporate all the ingredients.
-
In another bowl, whip the double cream until it forms soft peaks. Gently fold the whipped cream into the chocolate mixture, being careful not to deflate the cream.
This will give your cheesecake its light and airy texture.
-
Once the filling is well mixed, pour it over the chilled biscuit base, smoothing it out with a spatula. Cover the cheesecake with plastic wrap and place it in the refrigerator for at least 4 hours, or overnight if possible, to allow it to set properly.
-
Before serving, prepare the chocolate ganache by melting the remaining dark chocolate and letting it cool slightly.
Pour the ganache over the top of the cheesecake, spreading it evenly. Decorate with grated dark chocolate and extra orange zest for a beautiful finish.
Extra Tips:
When making this Chocolate Orange Cheesecake, verify all your ingredients are at room temperature for the best mixing results.
If you prefer a sweeter cheesecake, you can adjust the amount of icing sugar according to your taste. For a more intense orange flavor, consider using orange extract in addition to the zest and juice.
Finally, for a stunning presentation, serve slices with a drizzle of chocolate sauce and a sprig of mint. Enjoy your delicious creation!
Final Thoughts
If you’re looking to impress your friends and family with a delicious dessert, this Chocolate Orange Cheesecake is a fantastic choice. Not only is it visually appealing, but the combination of chocolate and orange flavors creates a delightful taste experience.
Remember to follow the recipe carefully, as each step is essential for achieving that perfect creamy texture and balanced flavor. Allow the cheesecake to chill adequately, as this enhances its richness.
When serving, consider adding a sprinkle of grated orange zest on top for an extra pop of color and flavor. This cheesecake is sure to be a hit at any gathering.
FAQ
Wondering how to make the most of your Chocolate Orange Cheesecake experience? Here’s a quick FAQ to help you out.
If you want a firmer cheesecake, try chilling it overnight before serving. This allows it to set properly.
For a more intense orange flavor, consider using fresh orange zest. If you’re short on time, you can use a store-bought crust.
Should you have leftovers, store them in an airtight container in the fridge for up to five days.
Feel free to freeze slices for later enjoyment, but remember to wrap them tightly to prevent freezer burn.
Finally, if you’re looking for a fun twist, add chocolate shavings on top before serving. Enjoy your delicious creation!